目录
瀑布流列表base组件
源码:BaseList.js
优点:将下拉刷新、上拉加载更多相关的 pageNo逻辑,封装到BaseList中,使用方仅需关注 数据请求的api,让使用方代码量降到最少。
使用示例
 1
 2
 3
 4
 5
 6
 7
 8
 9
10
11
12
13
14
15
16
17
18
19
20
21
22
23
24
25
26
27
28
29
30
| import BaseList from "app/components/list/base";
import { getFanList } from "./service";
const pageSize = 10;
const FanList = (props) => {
const { userId } = props;
const _requestFunc = (page, pageSize) => {
return getFanList({ userId: userId, pageNo: page, pageSize });
};
const _renderItem = ({ item, index }) => {
return <Item {...item} />;
};
return (
// <View style={{ flex: 1 }}>
<BaseList
requestFunc={(page) => _requestFunc(page, pageSize)}
contentContainerStyle={{
paddingVertical: px2dp(5),
paddingLeft: px2dp(5),
}}
renderItem={_renderItem}
// numColumns={1}
uniqueKey={"userId"}
/>
// </View>
);
};
|
可能会有双列分布不均问题,即某一列大量空白现象
 1
 2
 3
 4
 5
 6
 7
 8
 9
10
11
12
13
14
15
16
17
18
19
20
21
22
23
24
25
26
27
28
29
30
31
32
33
34
35
36
37
38
39
40
41
42
43
44
45
46
47
48
49
50
51
52
53
54
55
56
57
58
| import { StyleSheet, Text, View } from "react-native";
import React, { forwardRef, useCallback, useEffect } from "react";
import ImageTextFeed, {
sizeForItem as imageTextFeedSizeForItem,
} from "./Feed/ImageTextFeed";
import TextFeed, { sizeForItem as textFeedSizeForItem } from "./Feed/TextFeed";
import { px2dp } from "app/utils/ScreenUtils";
import BaseList from "app/components/list/base";
import SA from "app/utils/SaUtil";
const FeedList = forwardRef((props, ref) => {
const {
requestFunc,
ListHeaderComponent,
disableAutoLoadNew,
ListEmptyComponent,
} = props;
useEffect(() => {
console.log("useEffect:FeedList");
}, []);
const _renderItem = ({ item, index }) => {
if (item.previewUri) {
return <ImageTextFeed item={item} />;
} else {
return <TextFeed item={item} />;
}
};
return (
<BaseList
ref={ref}
requestFunc={(page) => requestFunc(page)}
contentContainerStyle={{
paddingVertical: px2dp(0),
paddingLeft: px2dp(12),
}}
renderItem={_renderItem}
numColumns={2}
uniqueKey={"id"}
getItemType={(item) => {
return item.previewUri ? "ImageText" : "Text";
}}
headRefreshEnable={true}
ListHeaderComponent={ListHeaderComponent}
disableAutoLoadNew={disableAutoLoadNew}
ListEmptyComponent={ListEmptyComponent}
sizeForItem={(item, index) => {
return item.previewUri
? imageTextFeedSizeForItem(item)
: textFeedSizeForItem(item);
}}
/>
);
});
export default FeedList;
|
图片base组件
源码:BaseImage.js
优点: 使用了高性能图片库FastImage,封装为 可配置图片加载失败后展示的占位error图
使用示例
 1
 2
 3
 4
 5
 6
 7
 8
 9
10
11
12
13
14
15
16
17
18
19
20
21
22
23
24
25
26
27
28
29
30
31
32
33
34
35
36
37
38
39
40
41
42
43
44
45
46
47
48
49
50
51
52
53
54
55
56
57
58
59
60
61
| // aliyun oss image format
// error image url: https://cdn.xxx.com/pic/illustrationstory/default/default_cover_720-1080.png?x-oss-process=image/resize,w_150/quality,q_85/format,webp
// normal image url: https://cdn.xxx.com/pic/illustrationstory/custom/scene/202310/2721/1698415166233-0yZkuCBu9I_960-960.png?x-oss-process=image/resize,w_150/quality,q_85/format,webp
import HBImage from "app/components/image/HBImage";
import { getSize, parseSize } from "app/utils/image/measurer";
const FeedItem = (props) => {
const coverUrl = useMemo(
() => getImageUrl(item.coverUrl, imageWidth), //oss resize 拼接url
[item.coverUrl]
);
const imageHeightFromUrl = useMemo(() => {
return getHeightFromSize(parseSize(coverUrl)); // parseSize 从url(..._720-1080.png...)中解析出宽高 【正常100%都能取出】
}, [coverUrl]);
const [imageHeight, setImageHeight] = useState(imageHeightFromUrl);
useEffect(() => {
if (!(imageHeightFromUrl > 0)) {
//若从url中未能解析出宽高,就通过RN官方Image.getSize方式获取宽高 【正常100%不可能走这里头】
let h = imageSize;
getSize(coverUrl)
.then((size) => {
if (size) {
h = getHeightFromSize(size);
}
setImageHeight(h);
kImageHeightCache[coverUrl] = h;
})
.catch((err) => {
setImageHeight(h);
});
} else {
kImageHeightCache[coverUrl] = imageHeightFromUrl;
}
}, [coverUrl])
return <>
{imageHeightFromUrl || imageHeight ? (
<HBImage
style={[
localStyles.image,
{
height: imageHeightFromUrl > 0 ? imageHeightFromUrl : imageHeight,
},
]}
source={{ uri: coverUrl }}
resizeMode={"contain"}
errorSource={require("app/components/image/default_cover_720-1080.png")}
/>
) : null}
</>
}
const getHeightFromSize = (size) => {
if (!(size?.width > 0) || !(size?.height > 0)) return 0;
return Math.min((imageSize * size.height) / size.width, maxImageHeight);
};
|
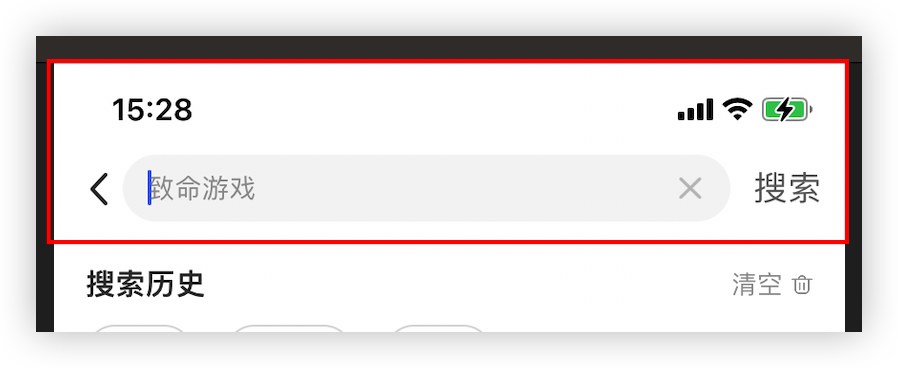
状态栏导航栏组件
源码:BaseNavBar.js
优点:
- 带 返回按钮,点击返回上一页
- 带 title
- 支持自定义导航栏内子视图
- 使用时无需考虑状态栏适配了(内部处理了)
使用示例
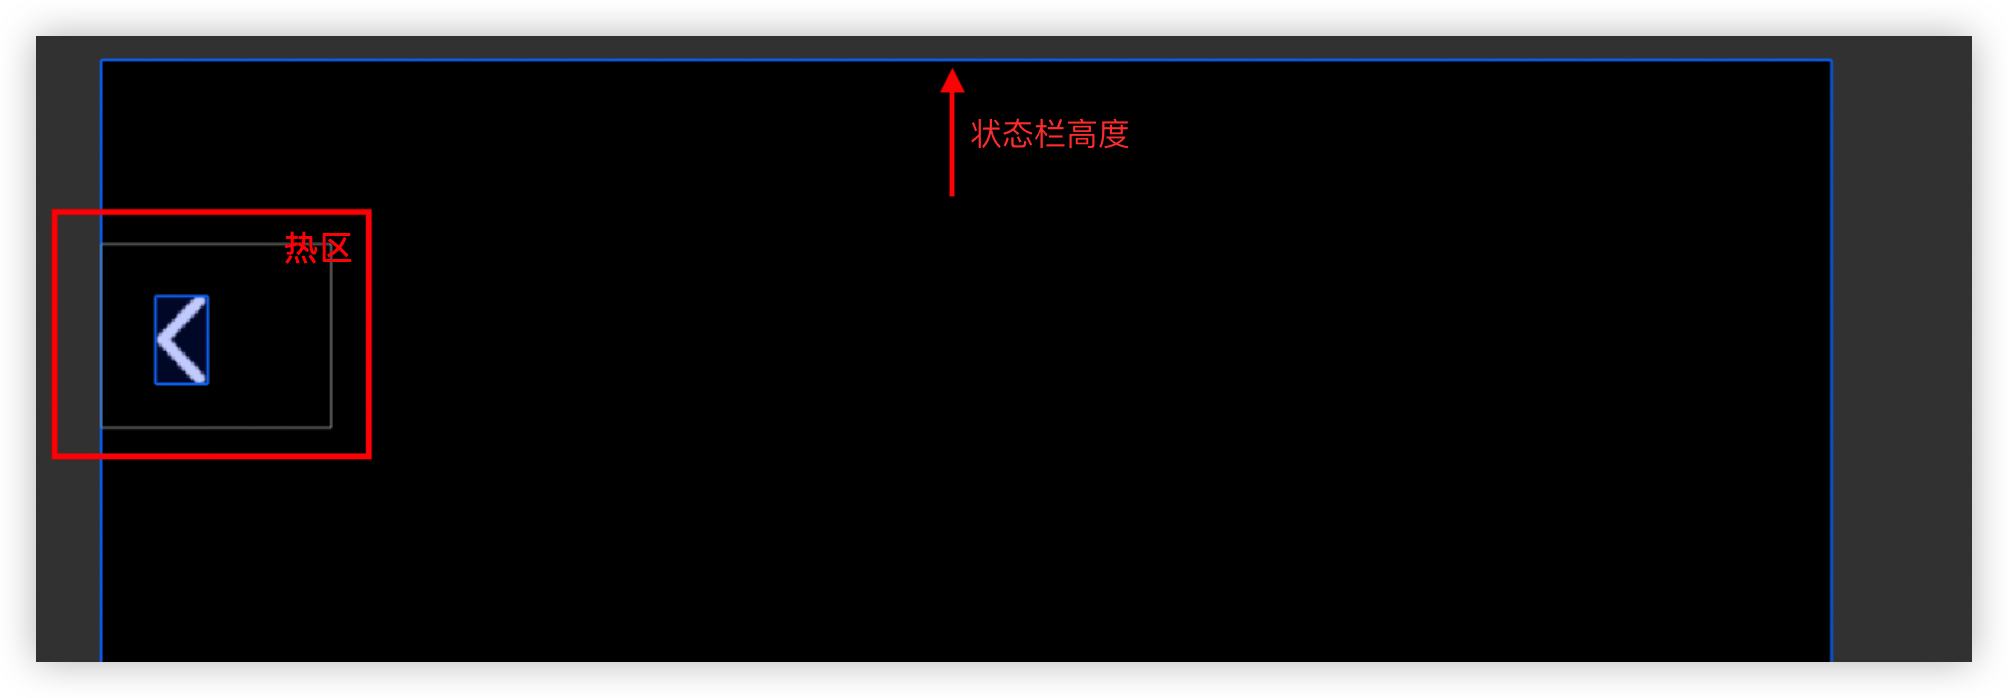
页面左上角的返回按钮组件
源码:LeftUpBackButton.js
优点:
使用场景:不需要导航栏 但需要返回按钮的页面,e.g. 一些全屏弹窗(图片查看器…)
使用示例

1
2
3
4
5
6
7
| import LeftUpBackButton from "app/components/LeftUpBackButton";
<LeftUpBackButton
//iconType="white"
//onPress={() => {
//dismiss alert
//}}
/>
|


